Four things happen before the mesh.
This is the whole job, in the order it is done. Nothing in the first four steps is an extra on the quote, and nothing in them is optional, because the fifth step depends on all of them.
-
 Step 01
Clean
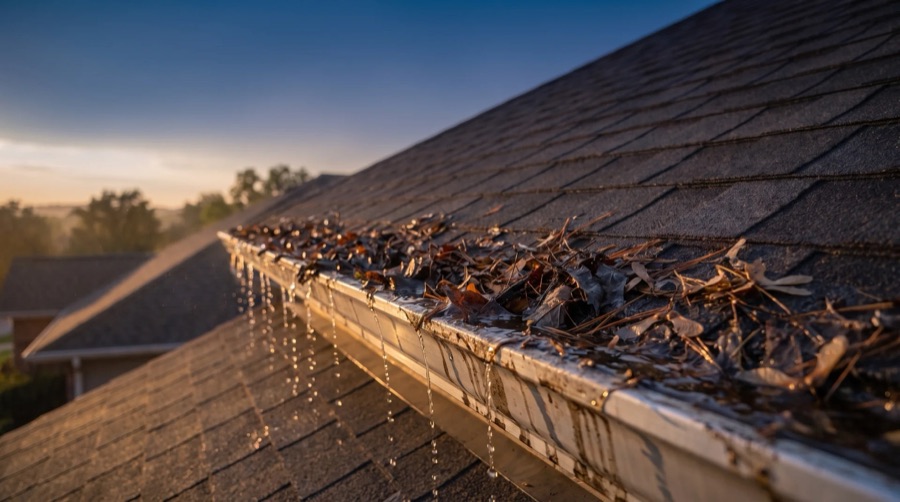
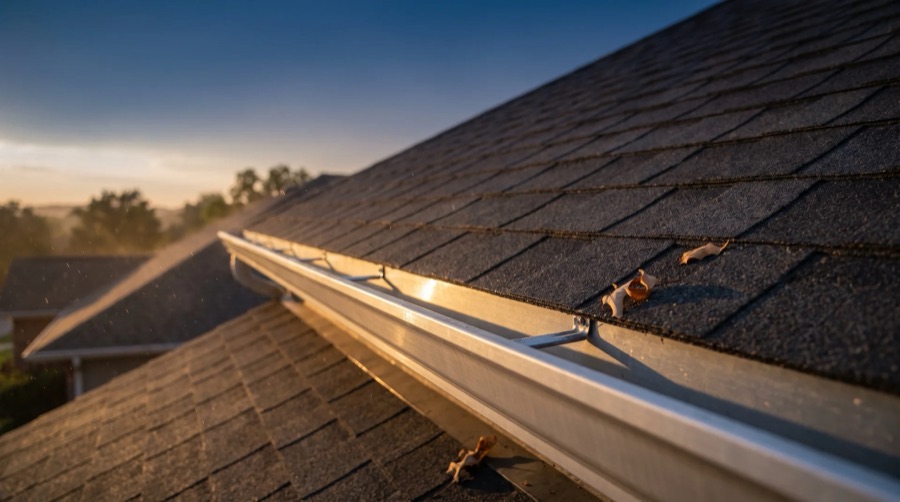
Everything comes out by hand. Leaves, needles, shingle grit, and the black sludge that collects in the bottom of a run nobody has opened in a few years. It is bagged rather than blown onto the lawn, and it leaves with us.
Then the whole run is flushed until the downspout comes out clear. That flush is also the first honest test of the downspout, which is the part of the system most likely to be blocked somewhere you cannot see.
An empty gutter is the only way to inspect one properly. With the debris gone we can see the seams, the end caps, the collars and the condition of the fascia behind the run. The drone survey shows us the roofline; this is what shows us the joints.
-
 Step 02
Reseal
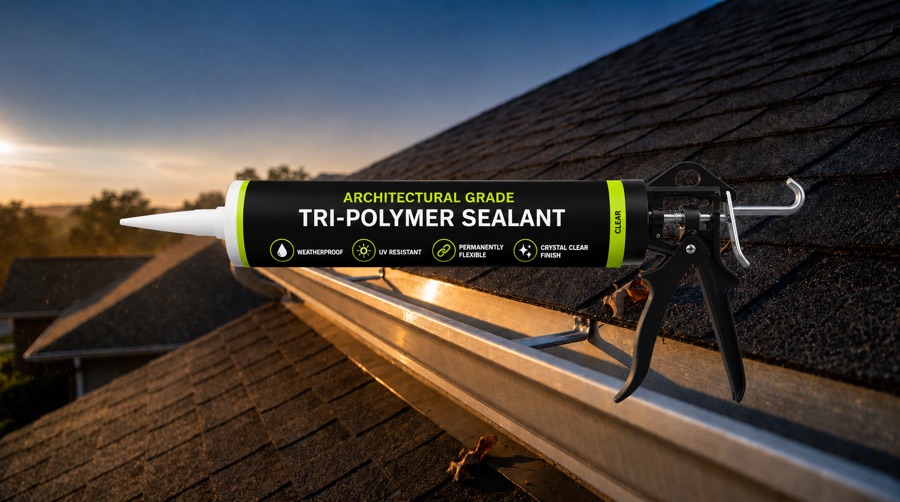
Every corner, end cap, seam and downspout collar gets architectural grade tri-polymer sealant. This is where an old gutter actually leaks, and none of it is visible from the ground.
The dark stain down the siding under a corner is not the gutter overflowing at the front edge. It is a joint that opened up years ago and has been dripping down the back of the run ever since. Sealing is the step that stops it, and it is the step most commonly skipped when a guard is being fitted in an afternoon.
-
 Step 03
Realign
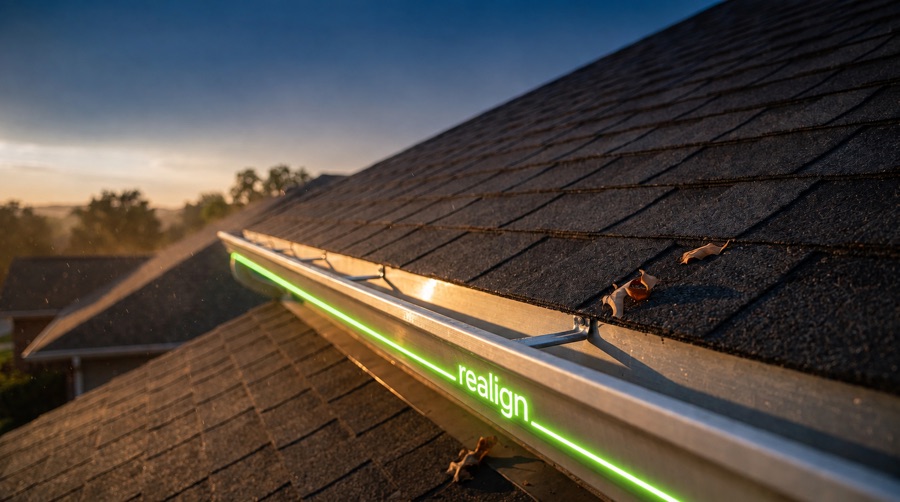
A gutter needs about a quarter inch of fall for every ten feet to drain. Over a long elevation that is a small margin, and a run that has carried a few winters of wet debris has usually lost it.
We bring sagging sections back to line and set the whole run to that pitch, so water leaves instead of standing in the low spot. Standing water is not only a drainage problem: it is weight, sitting on hangers that were already giving up, and in January it is ice.
-
 Step 04
Reinforce
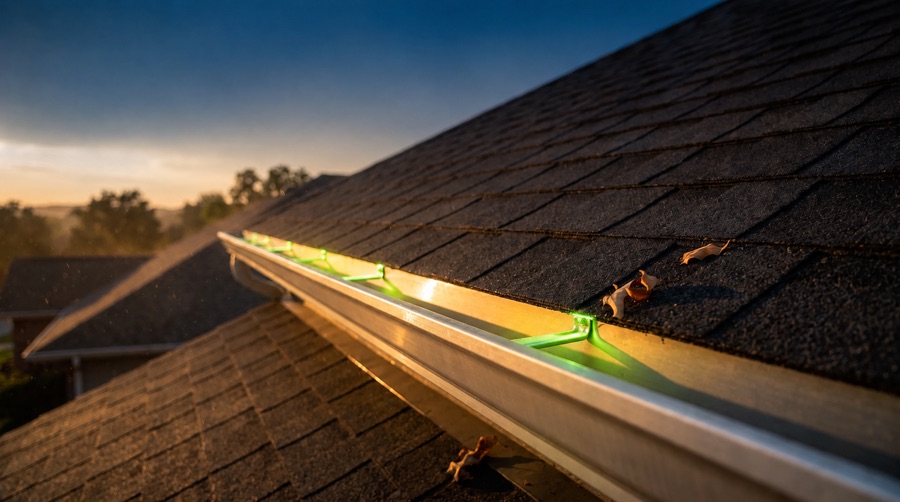
New heavy duty hangers go in wherever the old ones pulled loose, screwed through to the fascia and spaced tight enough to carry a winter of snow, ice and standing water. Hidden brackets go in where a run needs support rather than replacement.
This happens before any weight goes on top, which is the whole reason it is a step and not an afterthought. Fitting protection to a run whose hangers are already failing is how a guard ends up hanging off the front of a house.
We work on the guttering that is there. Realigning and reinforcing are meant to bring an existing system back to working order, not to replace components that are past it. If that is what we find, you get the photographs and a straight answer rather than mesh fitted over the top of it.
-
 Step 05
Protect
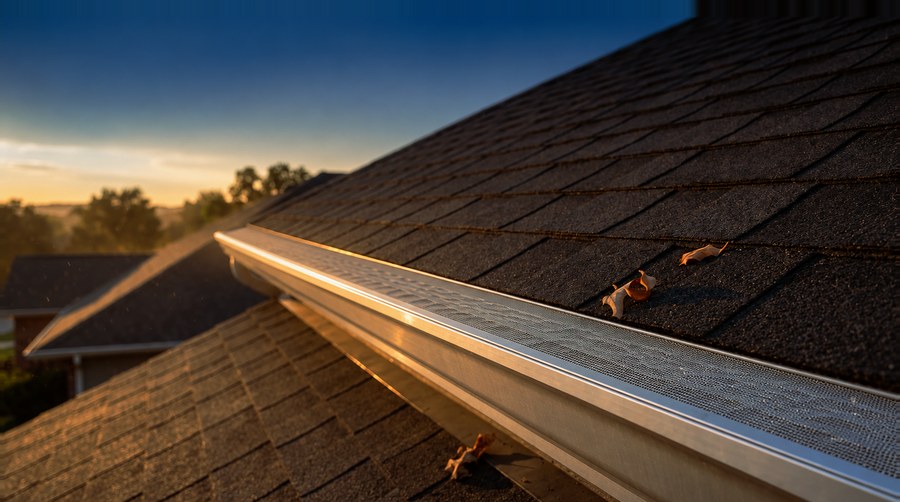
Stainless steel micro-mesh goes on last, cut to your gutter profile and fastened down. Rain goes through. Leaves, needles, maple keys and shingle grit stay on top, dry out and blow off.
By this point it is going onto a gutter that is empty, sealed, correctly pitched and properly supported, which is the only condition in which any gutter protection is worth fitting. The mesh and the workmanship are covered by a lifetime transferable warranty.
Photographed at both ends.
Nothing is quoted off a guess and nothing is signed off on a promise. You see your own roofline before the work and after it.
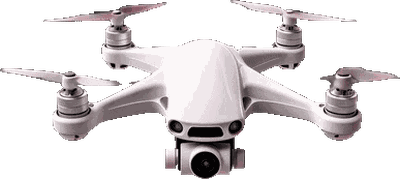
A drone flies the full roofline and photographs every run, corner, seam and downspout close up, including the elevations you cannot see from the ground. About twenty minutes, and nobody goes on your roof.
The quote is built off those images and comes back as a single price. It does not move if you push back, and it does not move on the invoice.
We fly the run again before we leave, so you get an after set as well as a before set. The images are yours either way, including if you decide not to go ahead.
All five steps in a single visit on the majority of houses. The debris leaves with us and the work area is left clean.
Fix the gutter first. Then protect it.
Almost everyone else sells step five. The guard goes straight onto whatever is already up there, the invoice is for a strip of material and an afternoon, and two winters later the homeowner is back where they started with a warranty that turns out to cover parts only.
Reversing that order is the entire product. It is also why we cannot price the job over the phone: until the roofline has been photographed, nobody knows how much of steps one to four your house actually needs.
The full case for doing it this way What happens at the free inspection What the warranty covers
Get your FREE gutter inspection today!
Gutter Proof uses professional drones to inspect your entire roofline up close, capturing every gutter run, corner, seam, and downspout. No ladders. No guessing. No obligation.